Tuesday, 16 December 2014

My Review Of The BarryM Gift Set.


Afternoon Readers,

                               I was lucky enough to win a awesome BarryM gift set from a re tweet competition over on BarryM's twitter page here


When the UPS man came i was overjoyed to see a huge red gift box with 30 of the most popular colour's including 10 Gelly's 4 Silk 6 normal nail polish and 10 awesome glitters that any nail lover would love to add to there collection.


I couldn't wait to try them out so i started using a undercoat and then set to work.
(This may take some time lol.)


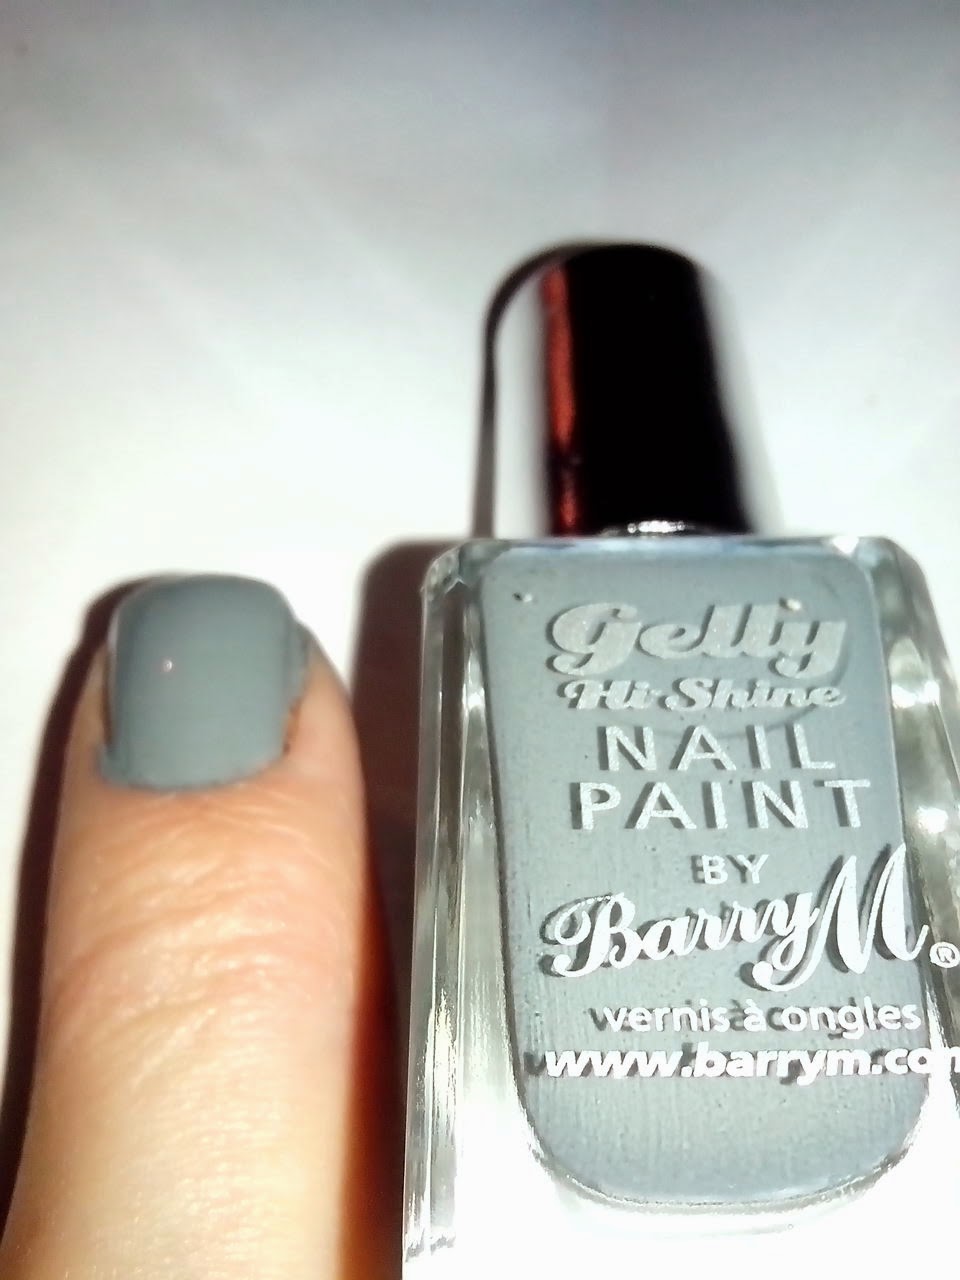
First up the Gelly Polish,You must prime and use a  undercoat as it may stain your nails but other than that i cant fault it.
The Gelly glides on and covers well first time leaving a streak free glossy finish that stays put all day and night with no chips,
I found using a top coat it lasted a few extra days. 
There are some stunning shades to choose from as you can see from the pics. 


Next is the silk polish it seams to dry quicker than normal polish and as you can see it leaves a matt effect.And i think it looks fantastic,It is not hard wearing so a topcoat is a must.


Pretty dont you think!


Now were on to the main BarryM range.Big bold colours clean and fresh and a colour for any occasion as you can see in these next set of pictures.


And lastly the stunning glitter range (oh sparkly) Various coloured glitter that sparkles and shines in the light,Perfect for christmas parties.


So there you have it the BarryM gift set.
Available Here Priced at £89.99.
A must for any nail fan young and old.
I really loved reviewing this set and i shall be updating it as and when as ive still got to try them all again and see how they stamp! So please watch this space.
Till then thank you for reading,
Wishing you all love luck and light.


Thursday, 4 December 2014

My Review Of Some Of The Andrea Fulerton Nail Range.

Good evening Readers,
                                      As you know i love nail polish and nail art so was over joyed when my facebook friend Jacqueline Allum sent me a box of goodies to help towards (the dreaded) Christmas and inside was a bottle of Andrea Fulerton Strike & Sparkle sadly the bottle snapped upon opening :( so i decided to pop over to the Andrea Fulerton facebook page here and let them know how sad i was as was looking forward to creating new nail designs.
A few days later the lady herself messaged me for my address to send me a replacement bottle.I was over the moon a few days later when Martin the postie turned up handing me a little funny shaped package.


Once opened it was a little like nail heaven before my eyes i had a awesome surprise........


Wow aint it!  
I could not wait to get started to try them out.


I really love Andrea Fulerton layering system a double ended polish.Two colours  that become one as you can see the first coat was a little patchy but the second coat was perfect once dry i  put the lighter colour on creating a unique colour of its own.As you can see its really glossy  and vibrant. 

This is a pic of the red over the purple and my fav.(cant wait to try the others available.) 
This next pic is of the red as the base and the purple over the top.


The Strike & Sparkle is awesome as you can see they come in silver,gold and white each bottle has a little pot of nail glitter of the same colour, The brush aint your bog standard nail paint brush it is super slim and designed for details and small thin lines.


 One week later no chips to be found.


The Mock Croc is croc meets snake nails and you apply the silver and the quickly apply the matt red thinly for a snakeskin effect or thickly for a croc effect.The trick is to work quickly as it dries super dooper fast  but the results are amazing, Apply a top coat for a gloss finish or leave it as it is. (i  found it lasted longer with a overcoat)

The nail gems are tricky little things but with the tool provided i mastered 
it.One end is a little rubber bit to press the gem into place and the other end is slanted so you can line the gems  up correctly.Always make  sure you use a topcoat to keep them in place and use washing up gloves washing up as the hotwater will dislodge them.                                          


And lastly these pretty funky skulls  they were tricky to peel off by hand but a pair or tweezers were a good idea and once overcoated they are long lasting.


So to sum up the fab Andrea Fulerton range it is fantastic and beats some major brands on the market and for a fab price.

You can check out her website by clicking Here .
Hope you liked my review please subscribe so you can check out my up and coming posts,Till then i wish you all love luck and light xx


?

Saturday, 29 November 2014

Applewood® Cheese Vintage & Ham hock muffins

                                    
I was entering a recipe over on Applewoodcheese Facebook page so thought i would add here too as if your family are anything like mine the love cheese every kind there is.We also love using cheese  in many of our recipes and one of the best cheeses to cook with is Applewood®  its smokey flavour and texture is amazing and has a distinctive flavour that will please any tastebuds,Enough of me babbling on here is how to make them.Also if you do make them please come back and let me know that you think,


Applewood® Cheese Vintage & Ham hock muffins, 250g sr flour,1tsp baking powder,1/2tsp baking soda,1/4tsp salr,150g Applewood® Cheese Vintage grated,100g cooked ham hock,90ml sunflower oil,150g natural yoghurt,125ml whole milk,1 large egg. Preheat oven to 200c gasmark 6, Then sift dry ingredients together and in a separate bowl mix the cheese,ham,oil,yoghurt,milk and egg,
Then combine the wet to the dry mix making sure its well combined ,
Divide between muffin cases or spoon directly in to the muffin tin,
Then bake for 20 mins till golden and cooked through,
Remove from oven and allow to cool (if you can wait that long! )
Then enjoy these are also lush with Applewood® spreadable on top and 1/2 a cherry tomato in the middle(of the spreadable cheese) to make savory "cupcakes" 

They will keep for  upto 5 days in a airtight container and they can be frozen for up to 4 weeks.
I do hope you try and make them as there really yummy.
Till next time ttfn love luck and light to you all. xx

Thursday, 20 November 2014

Santa hats take one :)

Since my stroke i have found i have a lot of time on my hands and im not really a girly girl in to bold make up and never using nail varnish!! But my friend Jeanette Hunter sent me a nail stamper set and ive been hooked ever since.
But now xmas is on its way i thought i would try my hand at santa hats and i think they look awesome,Yes i know there not perfect but not bad for my first go.
Maybe next year i will be even better lol.But i will be posting my progress from novice to with any luck passable.Oh well enough of me babbling on let me show you.


I used a base coat then used a soft pink.

Next red tips are added.

Now little black lines for the "hat".

And lastly white dots and glitter added then a topcoat applied and job done.  

My next task is to try snowflakes and trees so watch this space till next time Bye for now.

Wednesday, 19 November 2014

Princess Molly-Joy Frozen Birthday Cake

For my Princesses 8th birthday she wanted a  frozen multi coloured cake so me and my niece got to work.
Stage one cake one  piping the cake mix.

Stage one cake two.

Cake two once cooked.

Cake one cooked.

Caramel butter icing and jam in the middle.

Top goes on.

Sophie making the flowers.

Finished flowers.

Then coated in royal icing and decorated Frozen style.

The inside once cut,Oh pretty dont you think?

Mmm cake.

One super happy birthday girl.

And some cupcakes with the left over cake mix.

It took us 9 hours from start to end and it was so worth it when i saw the look on Miss Molly`s face.